Unboxing byteDEVKIT STM32MP1
This guide delivers new users a brief overview of the package content and the functions of our byteDEVKIT STM32MP1. When unboxing you should find the following components:
The byteDEVKIT STM32MP1 with a 5-inch touchscreen display
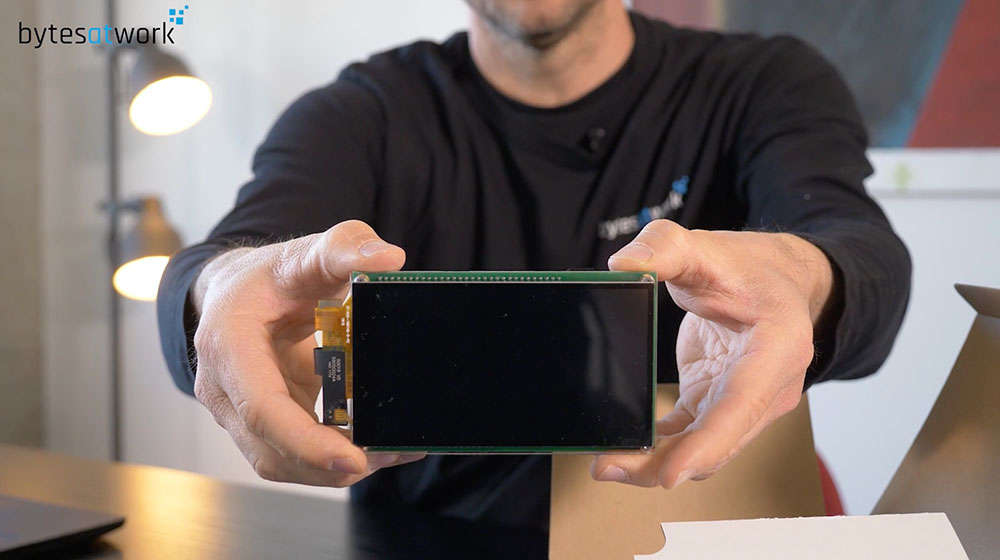
The SOM STM32MP1x
Note
The SOM STM32MP1x is already connected with the byteDEVKIT STM32MP1.

The power supply for the byteDEVKIT STM32MP1

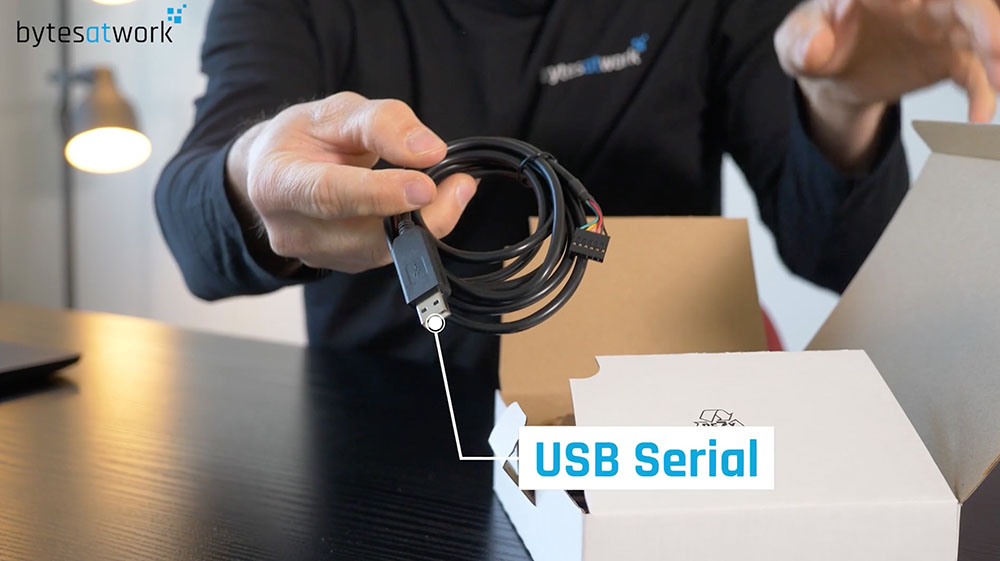
The USB serial cable for the byteDEVKIT STM32MP1
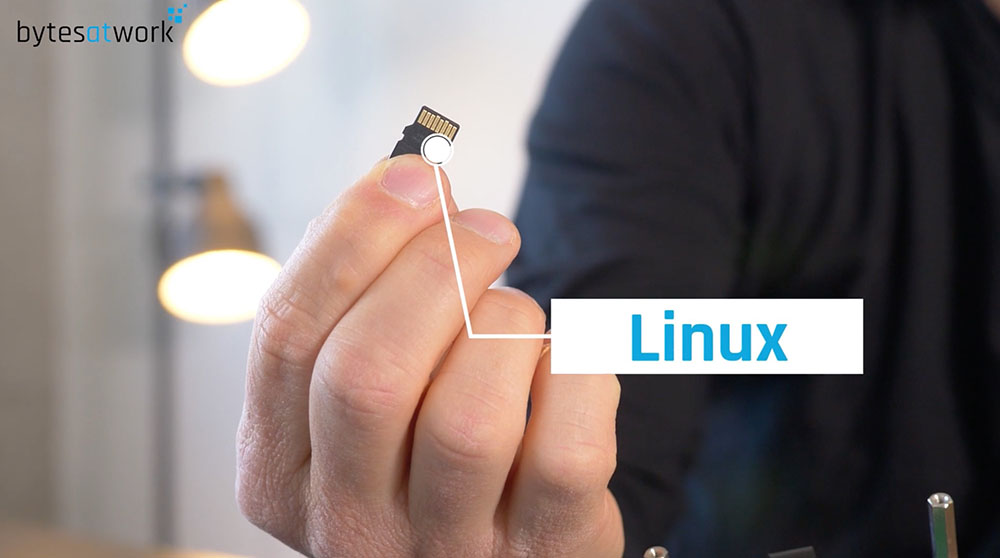
micro-SD card with preinstalled Linux
Technical overview byteDEVKIT STM32MP1
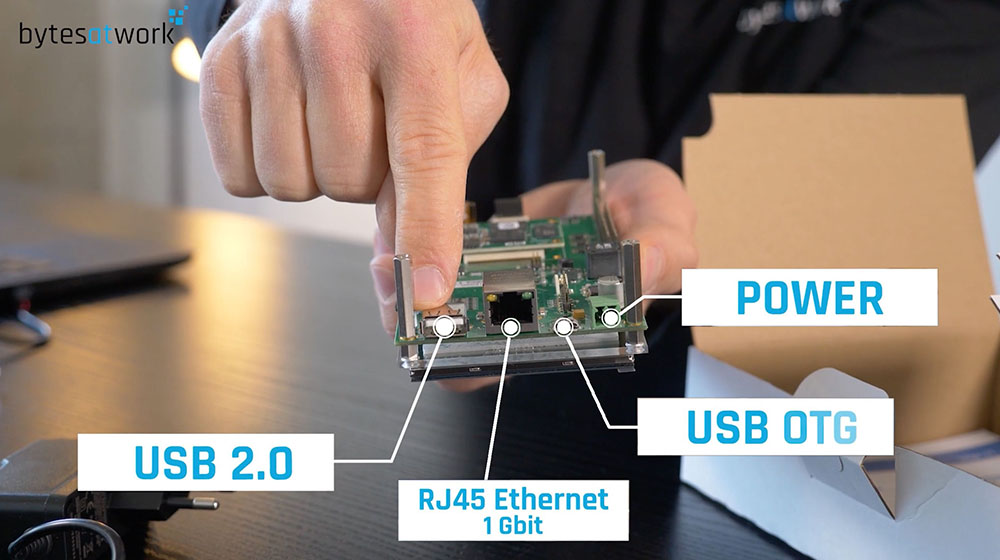
The byteDEVKIT STM32MP1 offers the following connectors on the front side:
USB 2.0
RJ45 Ethernet 1 Gbit
USB OTG
Power connector
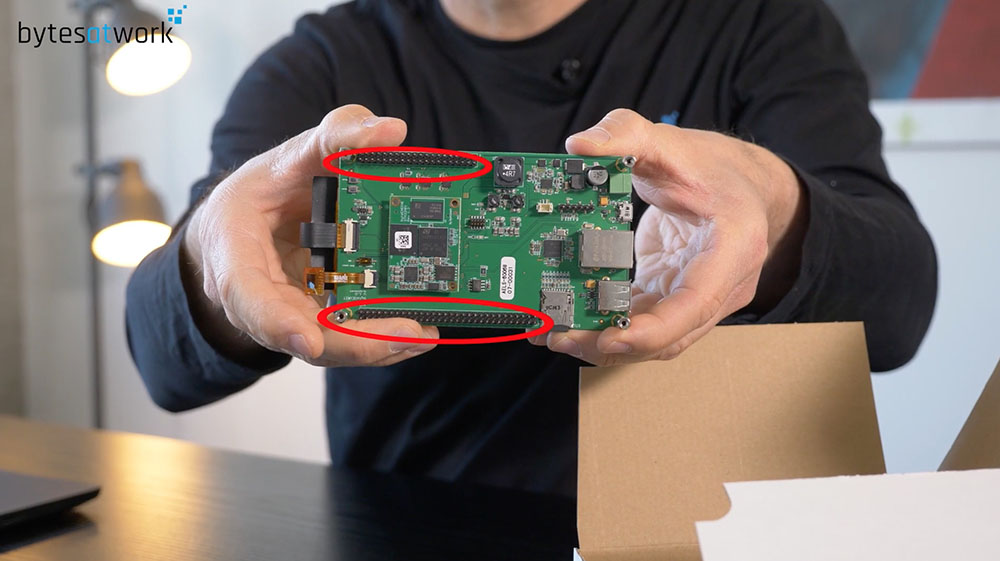
You find the extension on the backside. The byteDEVKIT STM32MP1 offers:
40 pin header compatible for the rasperry pi
60 pin header with all the needed signals: I2C, SPI, CAN, UART, I2S, LDC, GPIO and PWM
The micro-SD card slot contains a micro-SD card with preinstalled Linux OS:
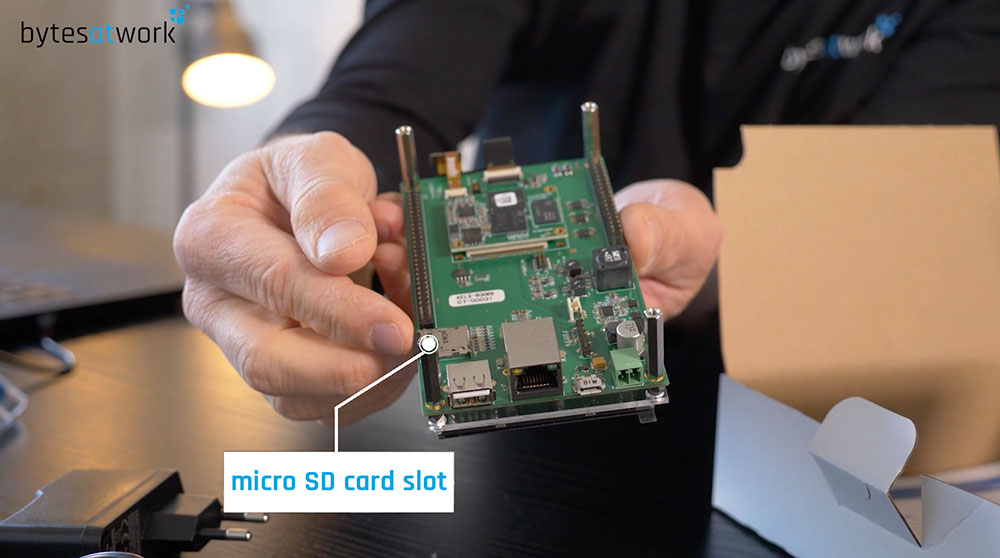
Note
The micro-SD card is already slotted to the byteDEVKIT STM32MP1.
